Backsplash Tile Installation, Issues And Solutions
January 18, 2017
Installing a mosaic tile backsplash is a great way to upgrade the look of your kitchen on a budget. You’ll save even more if you do it yourself instead of paying the labor costs of professional installation.
Although it’s a great DIY project, if you’ve never installed tile before (and even if you have) you may run into some complications. Here are some common problems you may experience and some tips to help you handle them like a pro.
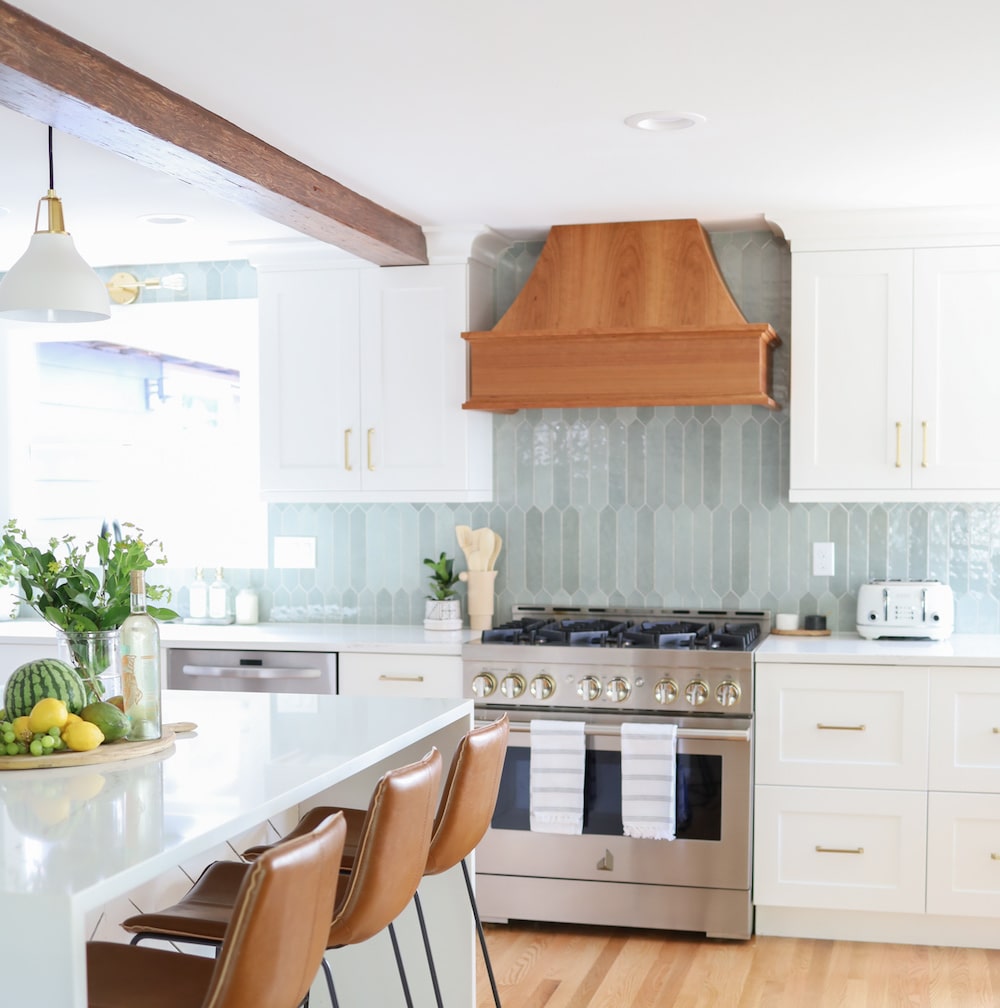
Tiling Behind Appliances
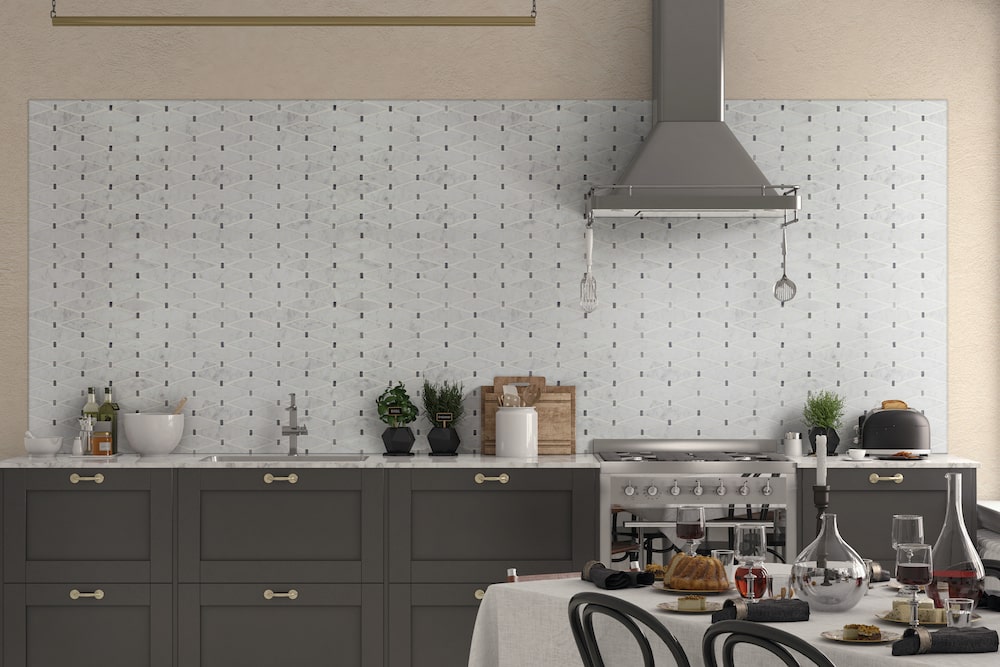
Kitchen backsplash tile installations need a solid support beneath the bottom row. This is no problem when installing a backsplash over a countertop, but when you tile behind appliances, such as your range, there’s no counter for support.
Simply screw in a board on the wall, even with the countertop, across the space where the counter is missing. When the tile installation is complete, you can remove the support. Be sure to use tile spacers between the bottom row and support, as well as between other tiles, so there’s room for caulking.
Edges Look Unfinished
 Greecian White Rail Moulding with Greecian White Marble Subway Tile 3x6
Depending upon your installation, you may have an edge where the tile stops that just looks unfinished and awkward. When your mosaics or subway tile do not end at a corner, or are not otherwise framed, use trim pieces to finish.
MSI has products that are perfect for the job, such as Greecian White Rail Moulding, which adds a subtle 3-D effect. Your framing pieces do not need to match; a contrasting color can create a stylish look as well.
Bottom Grout Line Cracking
To prevent cracking in the grout between the bottom row of tile and the countertop edge, do not use grout at all. Houses settle over time, and this edge needs a more flexible material – use caulk instead.
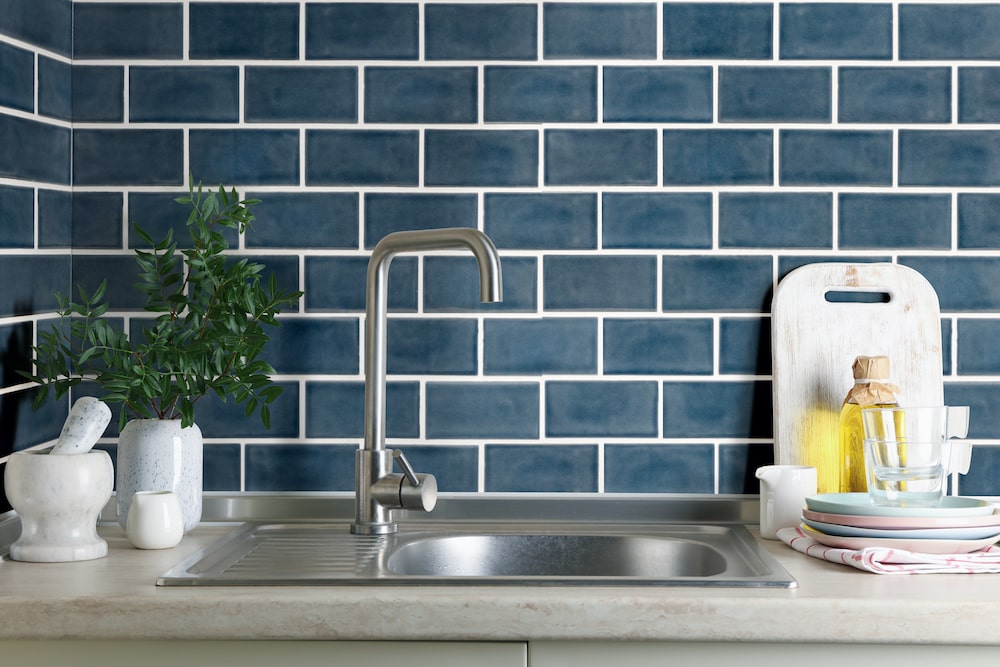
Tiling Around Outlets
The kitchen backsplash usually has multiple electric outlets, which can be troublesome when it comes to tile installation. Working with quality ceramic tile like the one pictured above allows you to use a handheld tile cutter to overcome these obstacles.
Measure where the outlet needs to come through and trim the tile as needed. Don't worry too much about the edges around the outlet looking messy, the outlet cover with hide any rough spots.
Haze on the Tile
Is your brand-new tile not quite as shiny as you expected? Leftover grout on the surface can leave a hazy film. This can happen days later, even after you’ve carefully cleaned it off. Wipe the tile with a damp cloth to remove the hazy film, and repeat daily as needed until your tile looks as it should.
DIY projects can save a lot of money – but when problems arise, it can be hard to get the professional look you have in mind. But remember, even the best professional installers had to learn these same tips and tricks along the way. Now that you know how it’s done, are you ready to start your own DIY tile project?
Are you ready to get your DIY project started? First, find your backsplash tile by reviewing MSI’s expansive Backsplash Tile Collection, then chat with a specialist online or visit an MSI showroom or MSI authorized dealer in your area.
READ MORE ABOUT MSI BACKSPLASH TILE
Add Sparkle With A Metallic Backsplash
Budget Friendly Kitchen Makeovers With Backsplash Tile
Create A High-End Look With These Affordable Backsplash Tiles