How To Get Perfect Grout Lines For Wood-Look Tile Flooring
May 23, 2017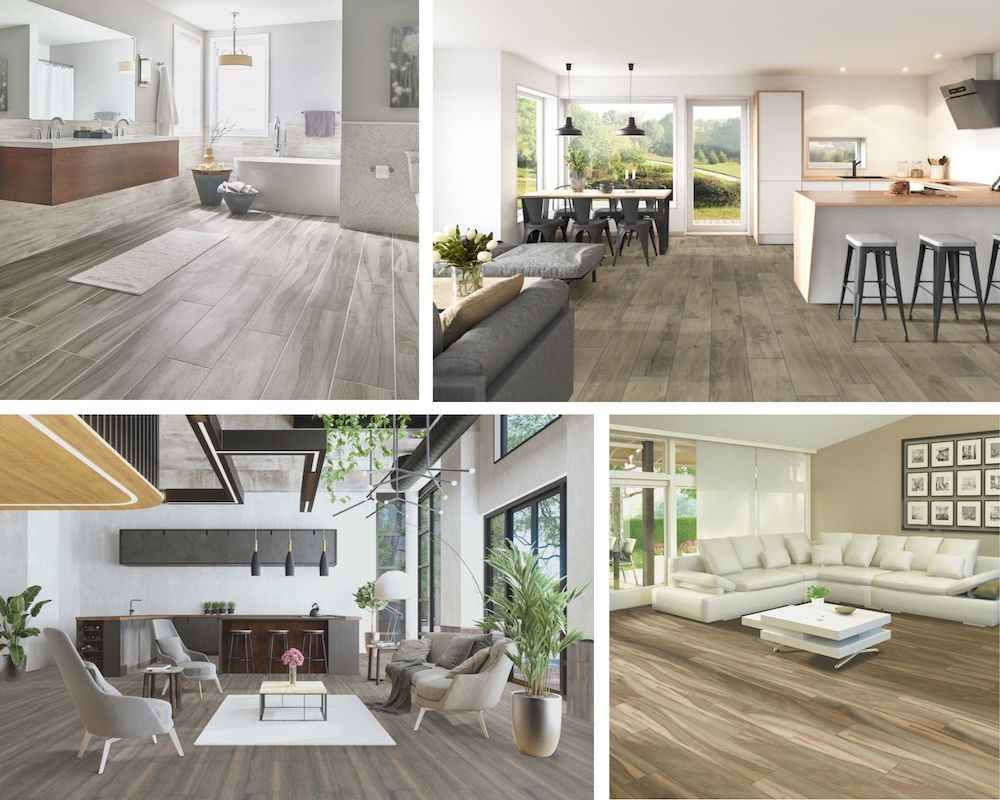
You’ve chosen the perfect wood-look tile for your home remodeling project – not an easy decision, since there are so many great options! But even the most beautiful wood-look tile can be ruined with improper installation and grout lines. Don’t let this happen to you! Avoid this disaster by following our tips to get perfect and professional grout lines.
Preparation

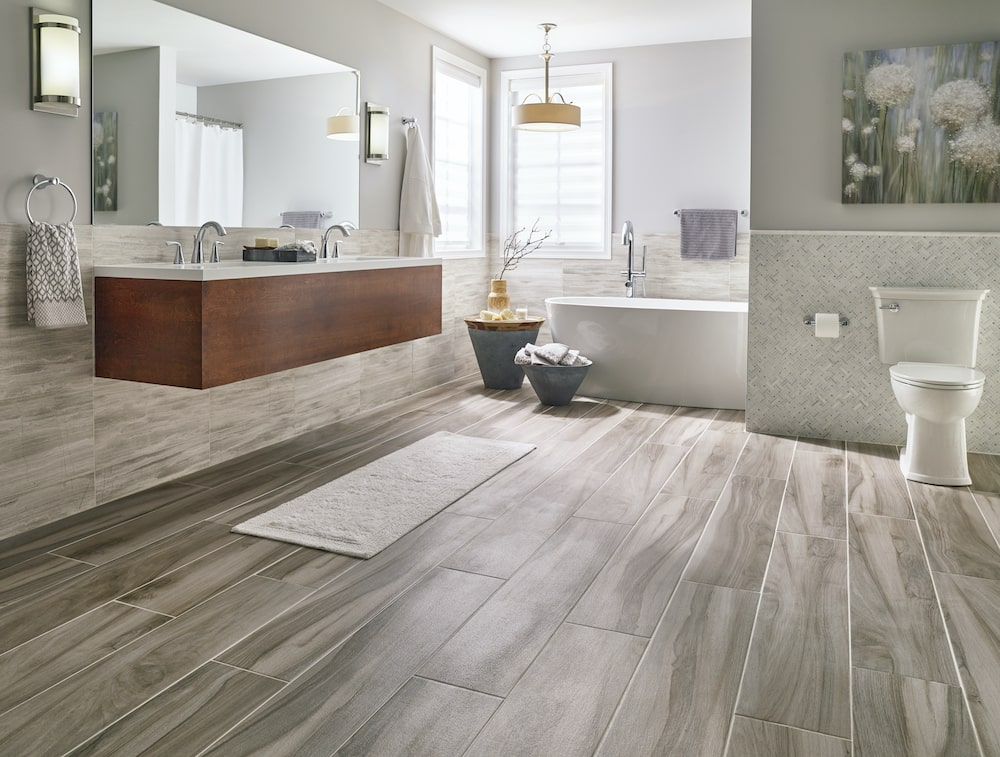
Antoni Nero Porcelain Wood Tile
For a truly professional tile job, the floor should be perfectly flat – or as close to flat as possible. A feather-finish floor-flattening product can be applied to fill the low spots, making careful use of a leveling tool. Next, measure and mark the area where your tiles will be. Check to see if the walls are square, because this could interfere with your tile layout.
Choose Grout Color
Wood grain porcelain tile can be placed more closely together than many other types of flooring, due to their uniform size. It’s possible to use grout lines as thin as 1/16”. However, the industry standard of 1/8” usually works best. Since your grout lines will be visible, it’s important to choose the right grout color. Most homeowners prefer grout lines that blend in with their wood look tile, rather than contrasting.
To do this, use a neutral color that resembles the plank porcelain tile. Using a slightly lighter shade can also work well, depending on the end result you prefer. Keep in mind that grout may darken over time. Also, keep in mind that sanded grout is more durable, but if you use a 1/16” space between your tile flooring, you must use unsanded grout.
Plan Your Tile Layout
Before you apply the first dab of mortar, or make your first cut, make sure you know your tile layout. With plank tiles, it’s important to plan your offset pattern – that is, where one tile ends and another begins, relative to adjacent rows.
The general recommendation is to offset plank tiles by 33%, which means that instead of placing plank ends in the middle of the adjacent tile, you place them 1/3 of the way down. Not only does this create a more natural finished look when using tile that looks like wood, similar to real wood flooring, it prevents “lippage.”
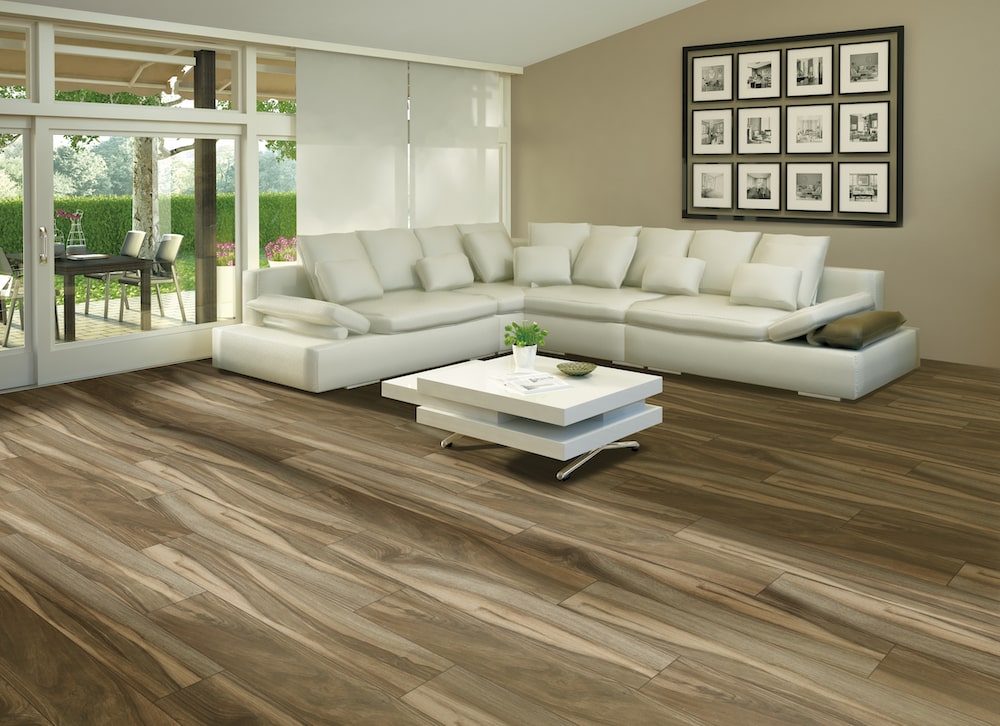
 Cottage Smoke Porcelain Wood Tile
Although porcelain wood tiles are manufactured to be identical, with straight edges, a slight amount of curvature and variation does exist. “Lippage” occurs when the edge of one tile is slightly higher than the one beside it. As plank tiles are slightly higher in the center and lower on the ends, placing the lower end next to the tile’s highest point may create an unsightly effect. If you offset by 33% instead, this effect is minimized.
More Tips for a Perfect Tile Job
• Use spacers to ensure a perfect 1/8” grout space as you lay each wood look tile.
• Don’t cut too many tiles at one time. This keeps your tiles consistent and even, and avoids expensive mistakes in the event of a miscalculation.
• Begin laying tile in a corner and work your way toward an exit.
• Apply mortar in a small area at a time, as needed, because it sets up quickly.
• Check each tile with a level as you go.
• Let the floor dry for a day before walking on it or applying grout.
• Spread grout evenly into the seams, being sure there are no gaps.
• Gently wipe away excess grout within 10 to 15 minutes of application.
• Let the grout cure for at least 12 hours before cleaning the floor or walking on it.
Like any do-it-yourself project, laying a wood look porcelain tile floor can seem daunting – but with the proper preparation, materials, tools, and patience, you’ll be on your way to a professional result. Need more info? Live chat with a friendly MSI agent, or find an authorized MSI retailer in your area and plan a showroom visit.
READ MORE ABOUT WOOD LOOK TILE:
Lived-In Wood Look Tile Flooring
Fall Trends Favor Wood Look Tile
How to Nail the Wood Tile Look In the Bathroom