How To Get Professional Results Installing Luxury Vinyl Flooring
November 08, 2018+luxury+vinyl+tile+flooring-msi.jpg)
One of the biggest reasons homeowners are buying luxury vinyl flooring is because of its easy installation. You don’t need experience or complicated machinery to get your project completed over the weekend. Plus, any DIY-er will easily get professional results! Here are some excellent tips to consider when installing your new luxury vinyl flooring.
Preparing the Floors
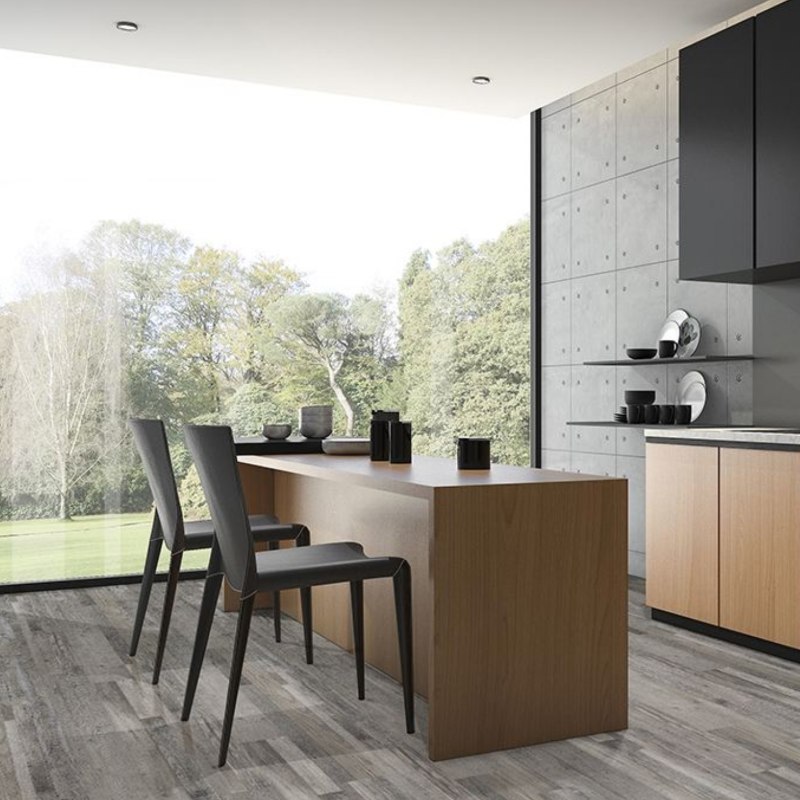
Featured: Mezcla Luxury Vinyl Planks
Luxury Vinyl flooring can be installed over just about any surface, which means it all begins with preparing your floor or sub-floor. Ensure that it is clean, smooth, flat, and dry. Vacuum or sweep the area and check for squeaks or screws. Once the plank flooring are installed, they are either glued down or locked in.
Another part of prepping for a successful install is to let your new vinyl floors acclimate for 24 hours. This means placing your flooring in the room so that they get adjusted to the living conditions.
Types of LVP Flooring
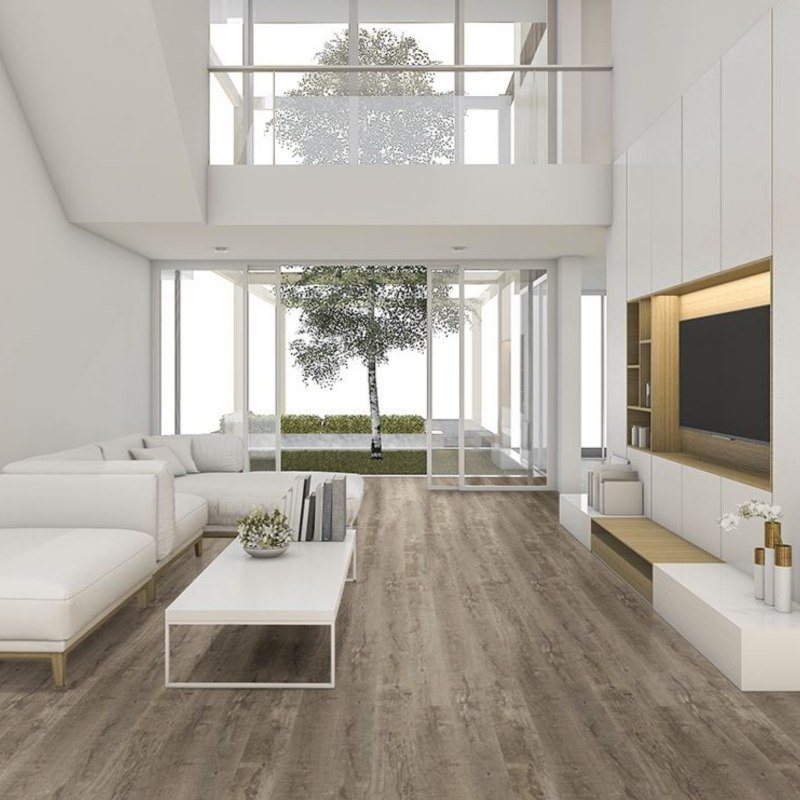
Featured: Akadia Luxury Vinyl Planks
It’s important to know which type of Luxury vinyl plank flooring you’ll be installing: glue-down or a lock system. MSI offers both for residential and commercial use. The DryBack Line is a flexible glue-down LVP flooring with authentic wood looks, and the Rigid Core is a 100-percent waterproof LVP flooring in an easy-install locking system.
When installing glue-down vinyl flooring, you’ll need the right products to help prep the floor and provide optimum results. MSI also offers everything you need. The Concrete and Floor Primer will improve your flooring by creating a better bonding surface for the adhesive. For the backs of your planks, the Multi Use LVP Adhesive offers a strong bond with ultra-low odor and water resistance, while the Universal Pressure Sensitive LVP Adhesive provides an aggressive tack with zero calculated VOCs and enhanced mold and mildew resistance. The Adhesive Cutback Sealer is a high-strength acrylic polymer for a clean surface that is also resistant to mold and mildew. Follow instructions for use.
Measuring and Cutting
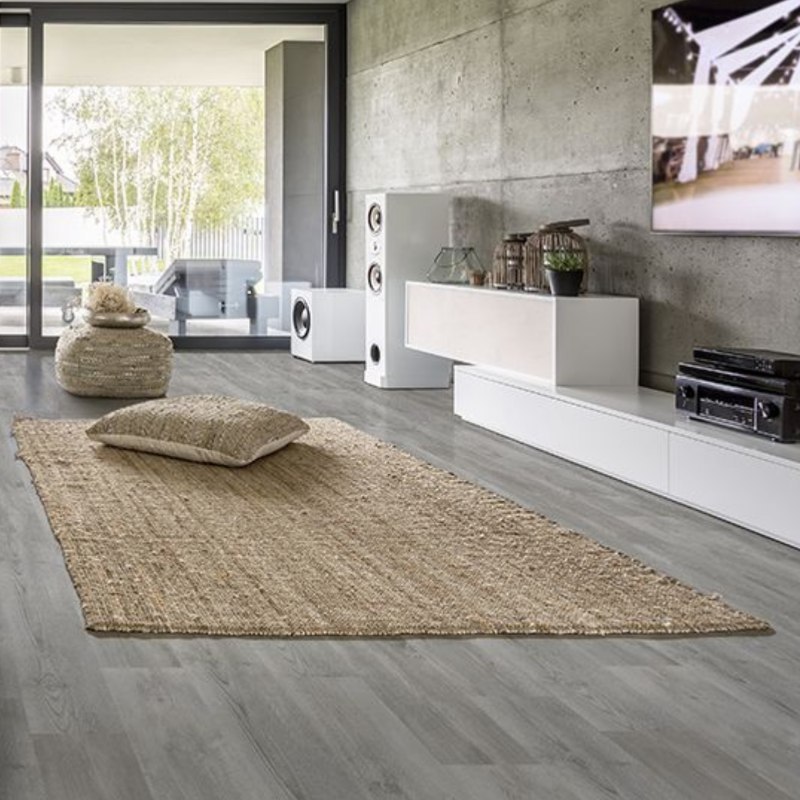
Featured: Katella Ash Luxury Vinyl Planks
Installers typically run plank parallel with the longest wall of the room. Once you choose the direction of your flooring, measure to ensure that there aren’t any bulges in the walls. To do this, measure three inches out from the wall, and use a laser to connect your markings. Re-measure again all along the wall to ensure that everything lines up.
Make sure to leave a 1/4-inch gap around the perimeter of the room. This not only allows for expansion and contraction purposes, but the extra space also gives you the ability to replace a damaged plank with a new one.
Building a few rows at a time will help keep your installation square, and it’s always best to cut your plank from the left side since they will go underneath the trim. Also, instead of scoring and snapping your planks, you can use a laminate floor cutter for a quick, clean cut. The tool can be rented from your local hardware store for an affordable price.
Light Tapping Locking Planks
One of the benefits of a locking vinyl flooring is that it makes for an easier installation. While they’re meant to lock together automatically, a light tapping using a small piece of plank instead of a tapping block will ensure that they’re locked tight. Using a hand or seam roller will ensure a tight fit for the end joints.
The tapping will cause the floor to move around. To make your install easier, line up your floors well and screw down the Luxury Vinyl Flooring every six inches near the edge of the planks where the quarter round will cover it. You can remove the screws when the install is completed so that you have a smooth surface.
Luxury Vinyl Flooring is an affordable and durable option that can stand up to busy households like yours. The easy-care flooring comes in a range of on-trend colors and patterns to provide you with the stylish look you’re after. Before you know it, you’ll have your new flooring done in a click and a snap! If you love how your LVP has transformed your room and are ready to tackle more DIY projects, then check out this article on quick home redecorating ideas.
A DIY project in the making, there’s no easier way to replace laminate, planks flooring, or carpet than installing LVP (Luxury Vinyl Flooring). From prep work and step-by-step instructions to tips, tools, and materials, follow these Vinyl Flooring Installation instructions for everything you need to know to achieve professional results. You could get started today and be done in just a few days – and with professional, polished results. If that sounds attractive to you, read Luxury Vinyl Flooring installation best practices for optimal results.
Would you like to learn more about Luxury Vinyl Flooring? Read the Definitive Guide to Luxury Vinyl Flooring to learn everything you need to know. And check out these vinyl flooring videos to learn more about Luxury vinyl flooring styles, LVP installation, and maintenance.
Check out this luxury vinyl flooring pricing guide to learn more about costs. And here are some options on where to purchase Luxury Vinyl Flooring.
More on Luxury Vinyl Flooring
Luxury Vinyl Flooring Buying Guide: Cost, Durability, and Design
How To Clean Your Luxury Vinyl Flooring Like A Pro
How To Install Luxury Vinyl Flooring To Get Professional Results
4 Steps To A Perfect Vinyl Flooring Installation